You Now that you have created a new Pro Bono event and now you would like to see you will be able to manage and monitor which employees have applied for it and manage thesePro Bono/Skilled volunteering opportunities.
...
Follow the below instructions:
- Start on the employee home page and select "Switch View" at the top of the page
- Select “Company Admin” from drop down.This will change your view from 'employee view' to 'company admin'
- Select the “Pro Bono” Bono/Skilled Volunteering” logo. This will take you to the “Pro Bono” Bono/Skilled Volunteering” home page. See image below for example "Pro Bono/Skilled Volunteering" home page. This page shows all of your Pro Bono/Skilled Volunteering events

- Find your event, either by using the search bar at the top or scrolling through the list.
- Select you particular even you wish to manage by clicking on "Opportunities" on the right hand side corresponding with your event. See image below

- You will be re-directed to a page with all of the Pro Bono/Skilled Volunteering opportunities under the selected event. See image below for reference
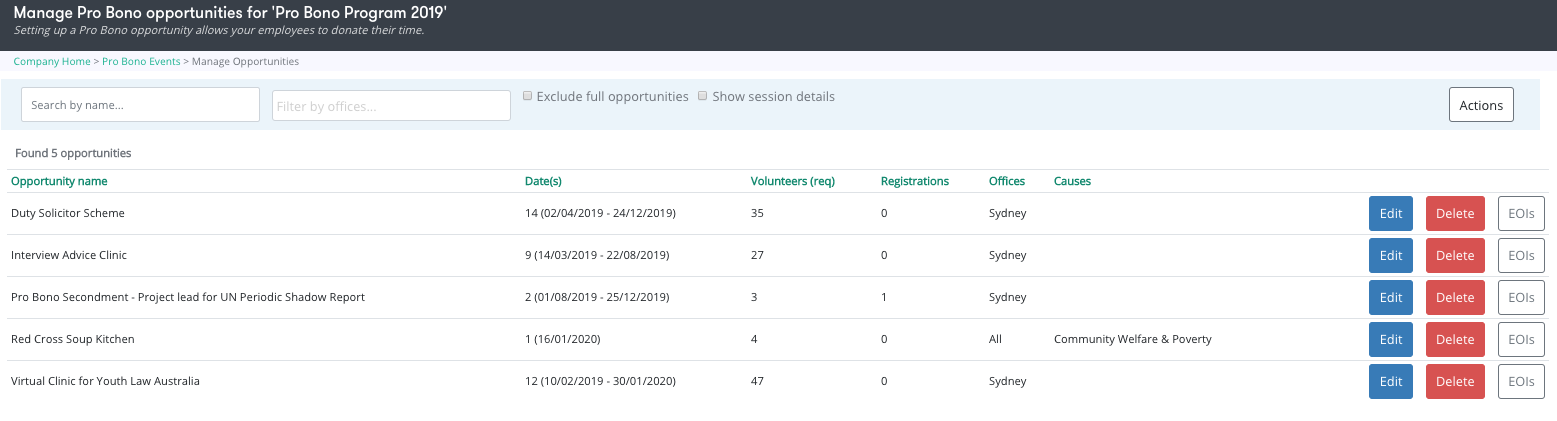
- Find the opportunity you wish to manage by either the search bar or scrolling through the list.
- Select the “EOIs” button corresponding with the opportunity you want to manage.
Export your EOIs
- On the top right corner of your EOIs screen, you will see an “Export EOIs” button. Click on it to export all the EOIs to the opportunities in the screen.
Register an employee
- Select your opportunity, either by using the search bar at the top or scrolling through the list. Click on “Expressions of Interest >>”You will be redirected to a similar image as the one below
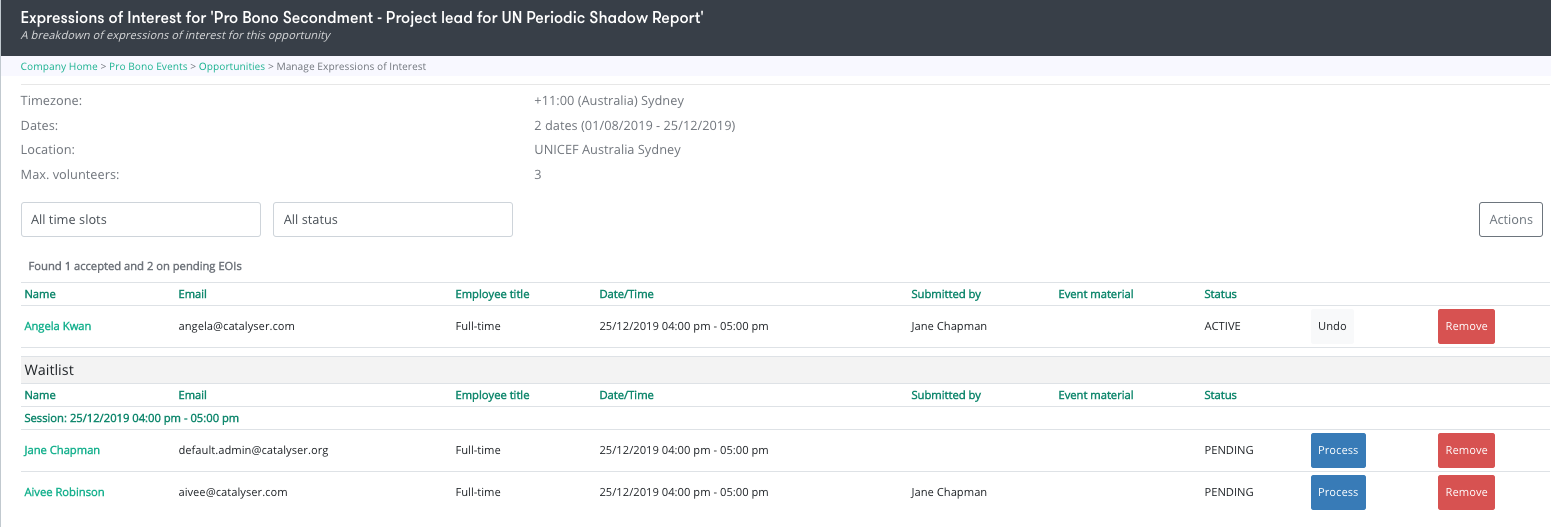
- On this page you can manage your EOIs for a certain opportunity.
1.Managing an existing EOIs
Starting on the page seen above, you can see who has registered for specific Pro Bono/Skilled Volunteering opportunities. After an employee has registered for a Pro Bono/Skilled Volunteering opportunity they will automatically be placed on the waitlist. This will appear at the bottom of the page under the title "Waitlist". Once you process a registration the name of the employee will appear above the waitlist.
Process a pending EOI
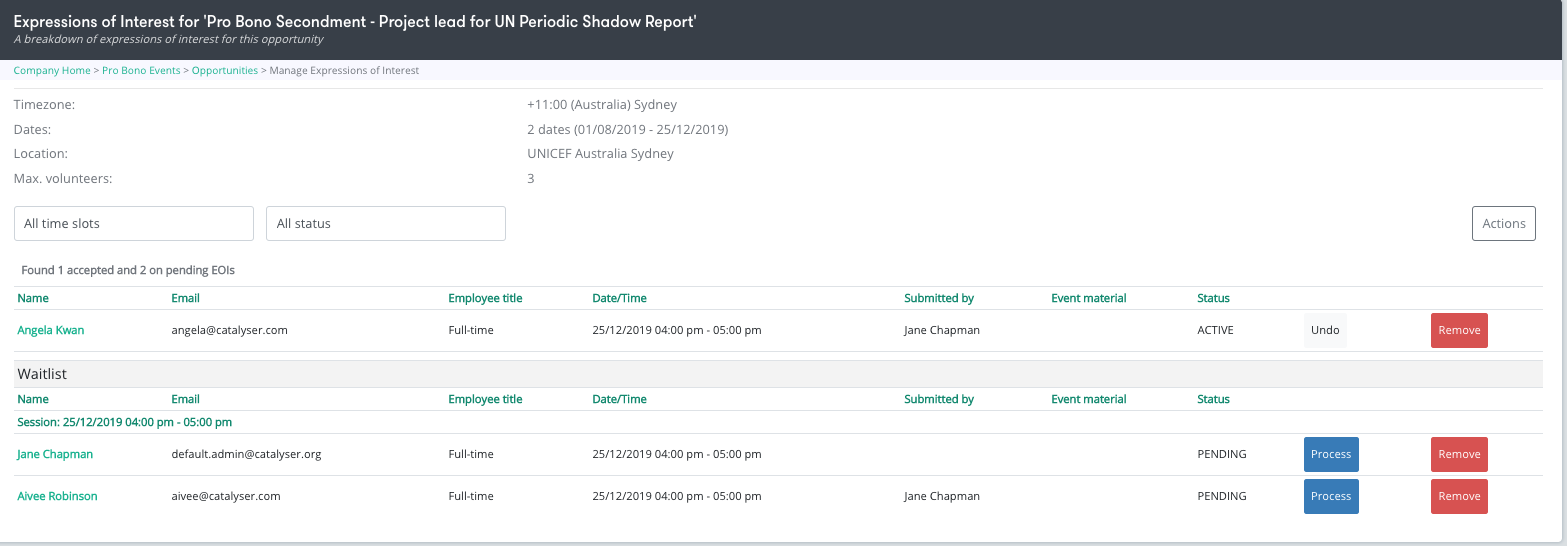
- When you are sure that your employee has the right skills to participate in the opportunity, under the "Waitlist" you can click on “Process”. See image below

- Once you have clicked "Process" their name will be removed from the "Waitlist" and appear above as a confirmed registration.
- Now that your employee registration is confirmed, your employee will be notified by email
- You can undo the confirmation by clicking “Undo” if required. Your employee will also be notified by email. See image below
Editing a registration
- To edit the options of the registration, click on the name of your employee. You will be redirected to a pop-up window as seen below
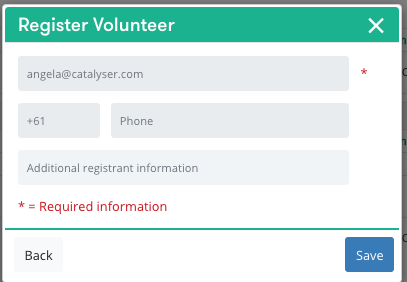
- Edit all the required details and click "Save"
Removing an EOI
- If needed you can delete a pending or accepted registration
- Click "Remove" to proceed
- Your employee will receive a notification by email

2.Register an employee
As an administrator you can register employees for opportunities. Start on the EOIs opportunities page as seen below. See above instructions on how to get to this page.
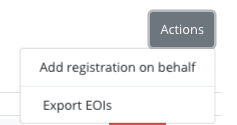
- On the right side of the screen, click “Actions” and then “Add Registration on behalf”
- You will be re-directed to a pop up window. See below
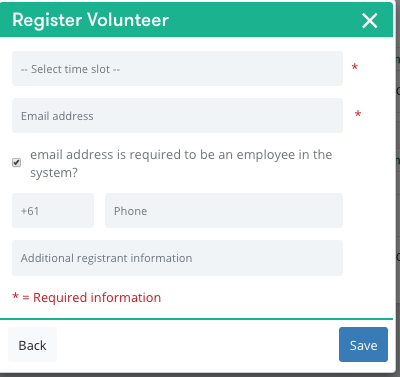
- Fill out all the information including:
- Add the email address and phone number of your employee
- You can only add an email of someone within the database. If you wish to add someone outside of your organisation you need to do so by de-selecting “email address is required to be an employee in the system?”
- Add their phone number
- Select the time slot
- Select the session to which the employee
- wishes to participate in
- You cannot add the employee to sessions that are in the past, that are full or to which he/she is already
- registered.
- Additional Registrants details
- You can add additional
- relevant information about your employee. This information will be visible when you export your
- Add the email address and phone number of your employee
- If there is an event option attached to your event, you can select it for your employee
Managing an existing EOIs
Editing a registration
- To edit the options of the registration, click on the name of your employee. You will be redirected to a pop-up window where you can edit the details
Process a pending EOI
- When you are sure that your employee has the right skills to participate in the opportunity, you can click on “Process”
- Your employee registration is confirmed. Your employee will be notified by email
- You can undo the confirmation by clicking “Undo”. Your employee will also be notified by email
Removing an EOI
- You can delete a pending or accepted registration
- Your employee will receive a notification by email
- registrations
- Click "Save"
- Their registration will appear under the "Waitlist".
- Click on "Process" as mentioned above to confirm this registration
3.Export your EOIs
You can export all the EOIs information onto an excel spread sheet
Start on the required EOIs opportunities home page as seen below
- On the top right corner of your EOIs screen, select "Actions"
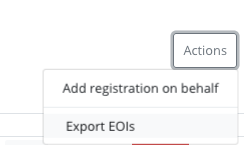
- Click “Export EOIs” button.
| Version 21/1/20 |
|---|