...
When new employees join your company you will need to add them to the platform
To start you need to switch from "employee" view to "company admin view"
- At the top of the employee home page click "switch view"
- Select "company admin from the drop down
- Select the “Settings” logo on the navigation tab on the left.
- Click on the “Employees” icon.
- Click on the top right button “Actions”
- You will be re-directed to the page similar to the one below
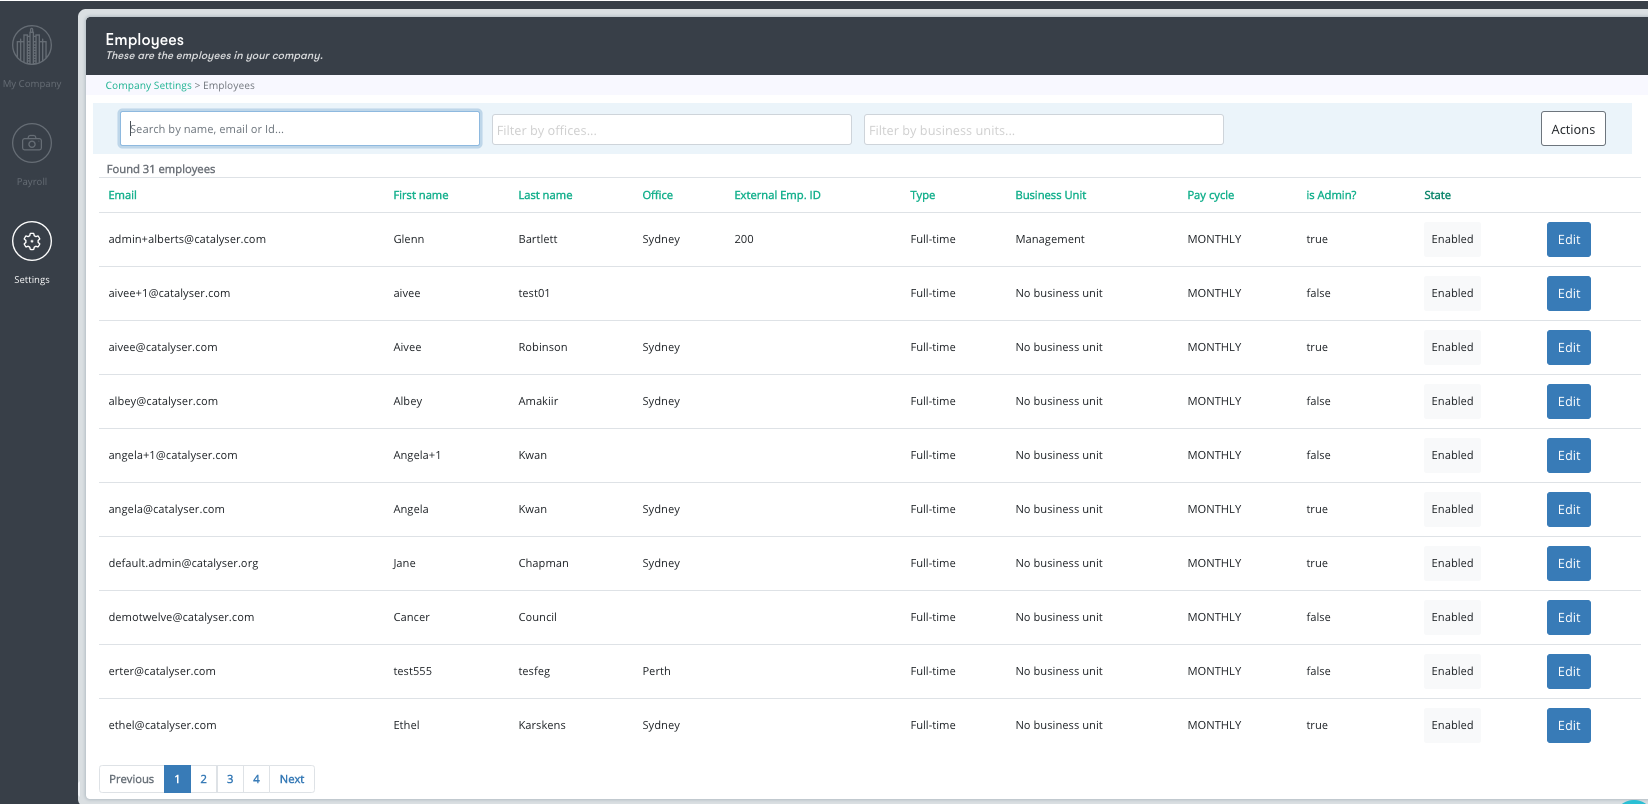
1.Adding a new employee
You need to add a new employee who just joined your company.
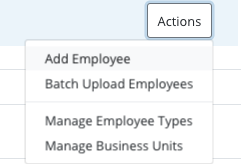
- Select “Add Employee” after clicking on “Actions”
- Start on the "Settings Employee" page as seen above
- Click "Actions" and then "Add Employee"
- You will be re-directed to the page below

- Fill out all the required information as detailed below:
Employee ID
- Add the new employee's unique identifier if its applicable to your company
Email address
- Add the work email address of your employee
...
- Select the payroll cycle on which your employee is is on
- The payroll donations of your new employee will be processed at frequency
Payroll Id
- If your company has a payroll Id add this here
Is administrator/payroll of the company
- If your employee has a particular role to play on the platform e.g company administrator, pay roll administrator or a super administrator , you select these special accesses here.
- If you only click on Payroll admin, the person will not be able to see the “Company” and “Settings” screens (in the navigation tab on the left). If you only select the Admin access, the person will not be able to see any of the payroll screens.
...
Click "save". You have added a new employee
2. Disable an employee
How
...
can I disable an employee who left or is on leave?
...
You can disable an employee on the platform by clicking on their state (in Settings > Employees) and switching their state to “Disabled”. This employee will not be able to access the platform, and administrators will not be able to make a donation on behalf of this employee or register the employee to an event. The headcount will also be updated so that it does not affect your participation rate.
- Start on the Employee Settings home page as seen below. To get to this page see the above instructions
- Find the required employee wither by searching or filtering the results at the top of the screen
- On the right hand side there is a title called "state". See below image
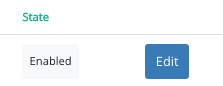
- On the correct employee, click on "enabled". This will disable the employee and the word"enabled" will be replaced with "disabled". See below image for reference showing the top employee being disabled.

- If required, simply click "disabled" to allow that employee to become "enabled" again
3.Adding and updating multiple employees at once
You can batch upload your employees to update them or add them all at once. This tool needs to be used carefully as it will affect all the employees on the platform. If you upload new information of existing employees, it will simply update the information of that employee without creating a new one.
Start on the Employee Settings home page as seen below
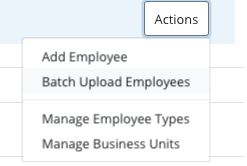
- Select Actions and then “Batch Upload Employees”
- Your are will be redirected to your Imports Management screen. On that this screen, you can review previous uploads uploads. See image below
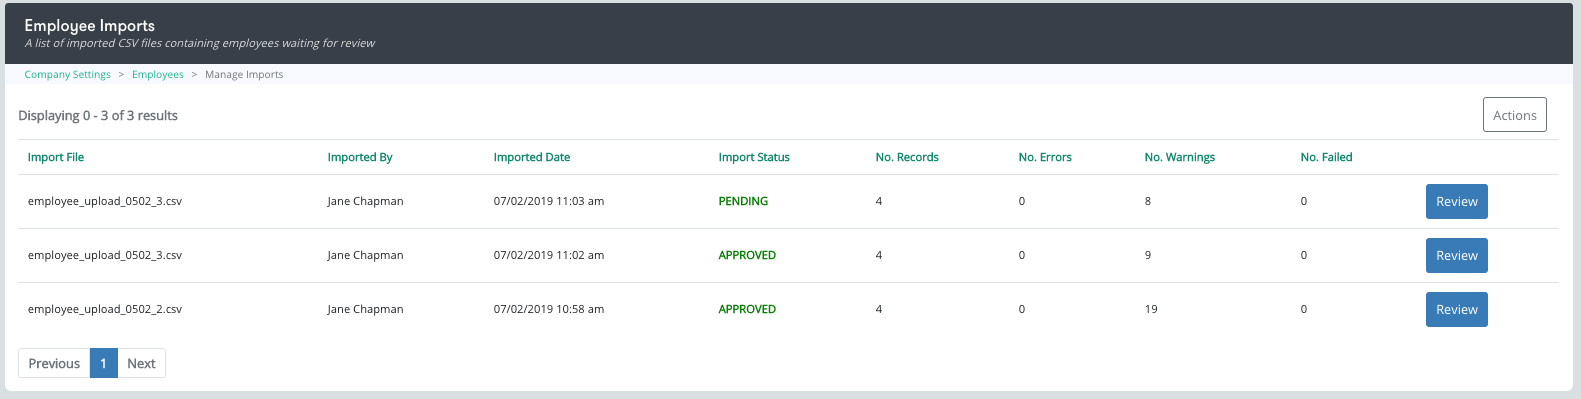
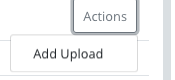
- Click on the top right button “Actions” and then on “Add upload” upload”
- You will be redirected to a page similar to the one below
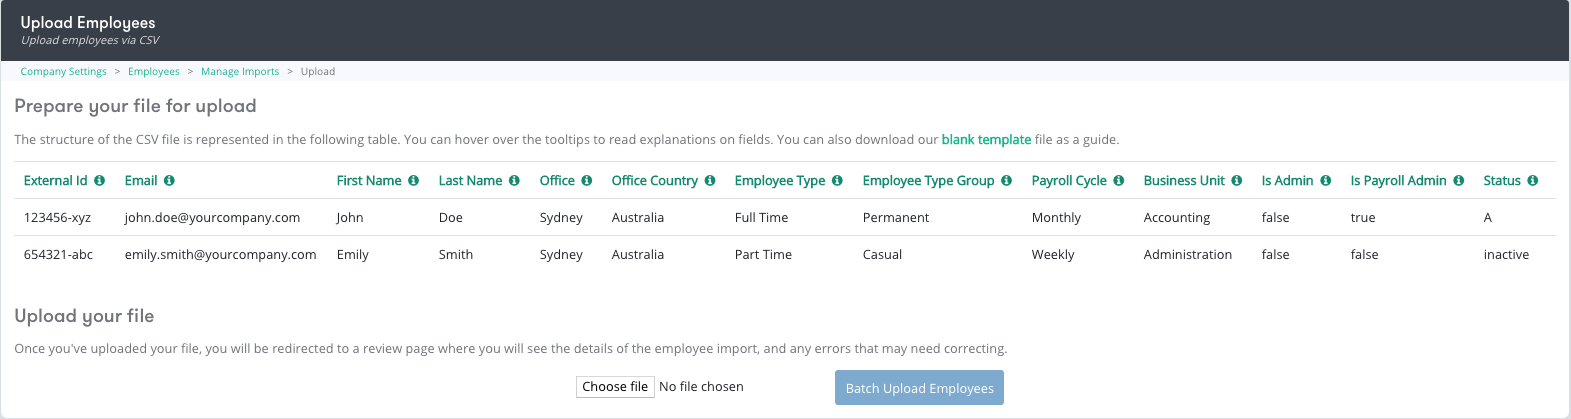
- If you have never uploaded a template before, you can download a blank template by clicking on “blank template” in the instructions The example under the description also instructions. This is at the top of the screen

- You will be re-direct to an excel spread sheet. This spread sheet also has tooltips for each field to help you enter the right format for each of them
- Once you have created your file, click on “Choose file”, select your file and upload the file by clicking on “Batch upload employees”

- Once you have uploaded the file, it will take you to the review screen where you will be able to see all the warnings and error messages
- The warning messages are meant to tell you if new employee types or offices will be created, or if you are about to update an existing employees
- Once you are satisfied with the results, you can click on “Accept”
- From that point all of your employee data will be updated or created
| Version 21/1/20 |
|---|