Adding an event
- “Switch View” - select “Company Admin” from drop down.
- Select “Pro Bono” logo.
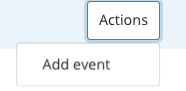
- Select “Actions” and “+ Add Event”.
| Info |
|---|
What is a Pro Bono event A Pro Bono event is a large thematic event that gathers multiple opportunities, sometimes in different locations and with different offices. You will typically create an event for specific topic: mentoring, helping charities specialised in certain areas, etc. |
1.Adding an event
Before you start you need to switch view from "Employee view" to "Company admin" view
- On your employee admin page click "Switch view" at the top of the screen
- Select "Company admin" from the drop down menu
- This will redirect you to your admin dashboard
Once on the admin dashboard proceed to adding an event by following the next set of instructions
- Select the "pro-bono/skilled volunteering logo" and this will redirect you to your "pro-bono/skilled volunteering' homepage
- The image below shows an example of this homepage
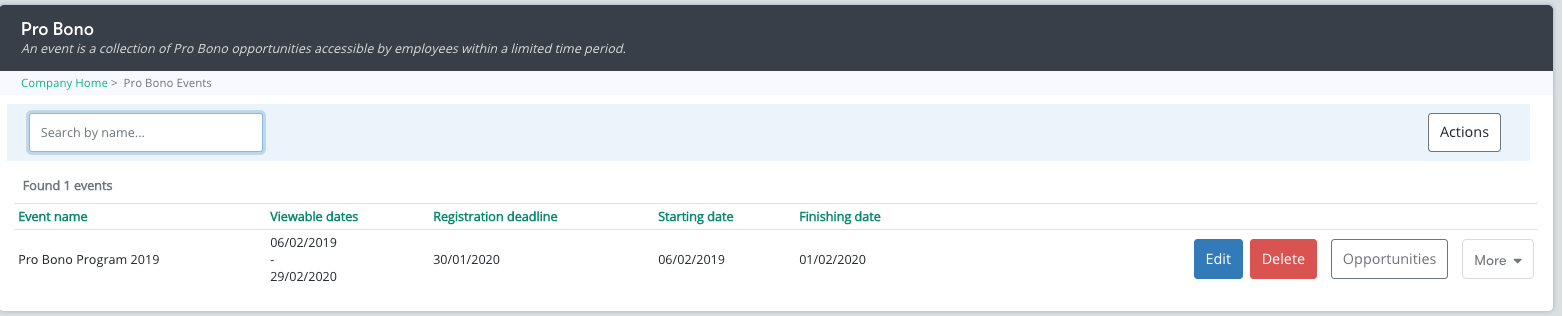
- Select “Actions” at the top right hand side of the page and select “+ Add Event”
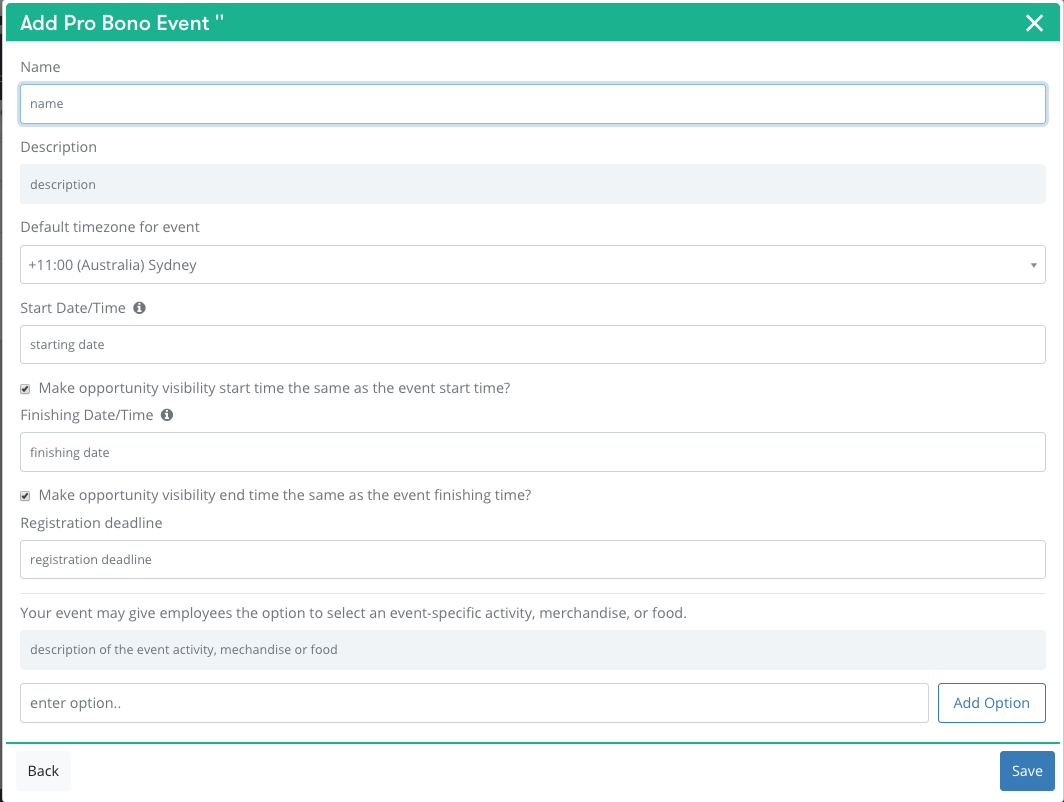
- You will be redirected to the page down below
2. How to create a Pro Bono/Skilled Volunteering Event
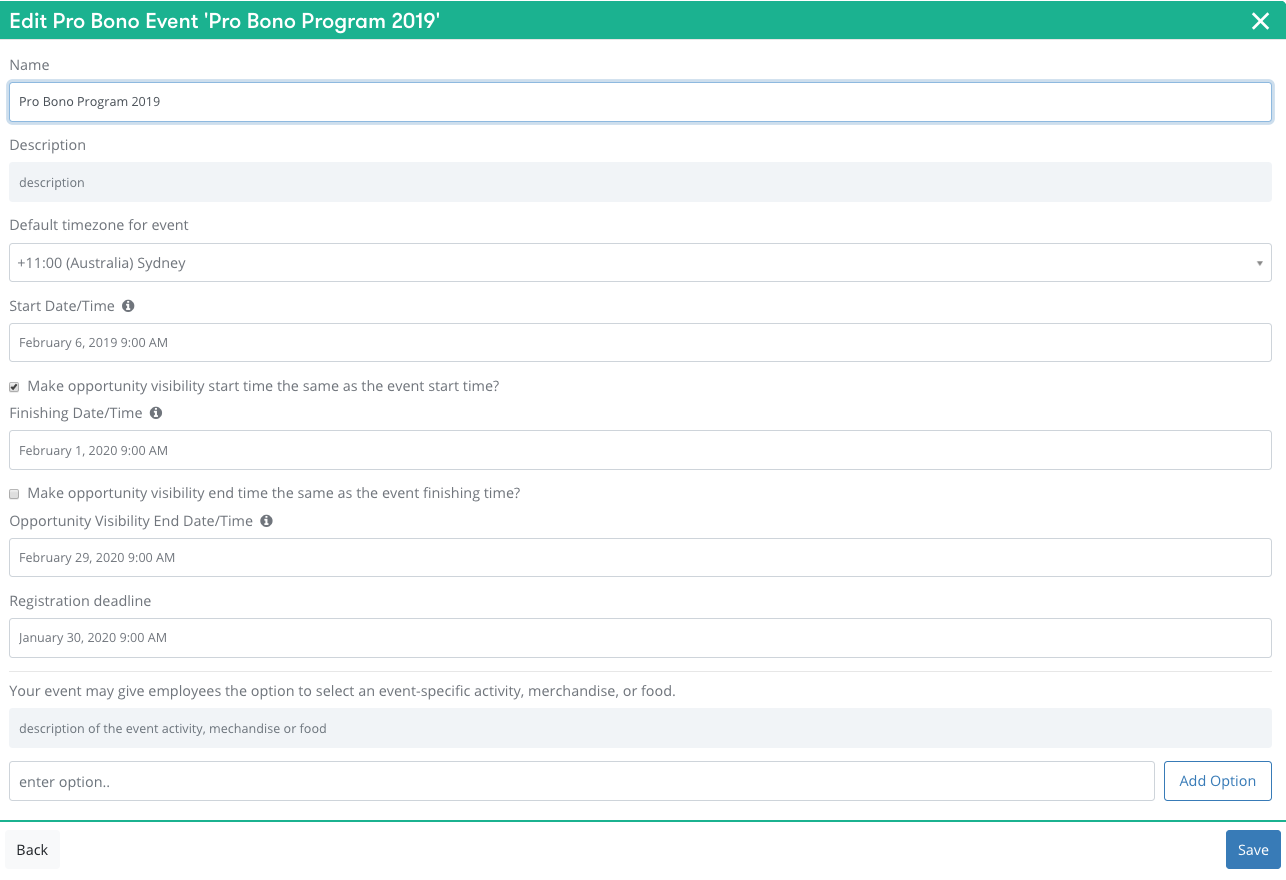
Once As explained above, once you have clicked on “Add an Event”, a pop-up window appears. This is the image above.
Fill out all of the required information:
Name and Description
- Enter the Name of your event, you can also enter a brief description for your employees. This will provide them with some more information about the Pro-bono/skilled volunteering opportunity.
Time zone
- Select the event timezone. This is the time zone that the event will be taking place in. You can select a different timezone on an opportunity level tooas well.
Start time
- Select the date/time that the event begins. This is also the starting time that registrations open
- You can manage when your event will be visible by de-selecting “Make opportunity visibility start time the same as the event start time?” and add a separate date for it it. When you de-select that bar it means that there can be a pre-viewing time whereby employees can see the details of the opportunity but not register. After the Pre-viewing time has completed then employees will be able to register for the opportunity.
End time
- Select the date/time that the event finishes.
- You can manage when your event will stop being visible by de-selecting “Make opportunity visibility end time the same as the event end time?” and add a separate date for it this
Registration Deadline
- Add a registrations deadlines. This limit will be applied to all the opportunities as a default registration deadline but . If required you can still edit it the registration deadline in the opportunity section of the platform.
Event specific activity, merchandise or food
- Depending on the pro-bono/skilled volunteering opportunity there may be a requirement for additional activities, food and merchandise.
- Add these details in this section by clicking on the "enter option" tab and confirm this by clicking "Add option". See image below

- Click "remove" if you have made a mistake or need to alter an "event specific activity, merchandise or food"
- See image below

- Click Save.
You have now created a new Pro Bono Event for which you can add Opportunities to. Follow the instructions down below to add opportunities to this Pro/bono event/skilled volunteering.
3.How to Edit an existing Pro Bono/ Skilled Volunteering Event
...
Start at the "Pro-bono/Skilled Volunteering" Events homepage. Follow the next set of instructions
- Find your specific event, either by using the search bar at the top or scrolling through the list.
- As seen below

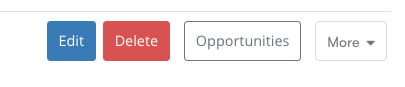
- Click on “Edit” button. You can now edit details of your pro bono event.
- This will redirect you to a page with all the event information. See image below
- Edit the information required and complete by clicking "Save" at the bottom right hand side of the page
4.How to add a new opportunity to your Pro Bono
...
/Skilled Volunteering Event
You have created a new Pro Bono/Skilled Volunteering event and now you would like to enter the different pro bono opportunities for your employees to select from.
...
Start at the "Pro-bono/skilled volunteering" homepage. Proceed with the following instructions
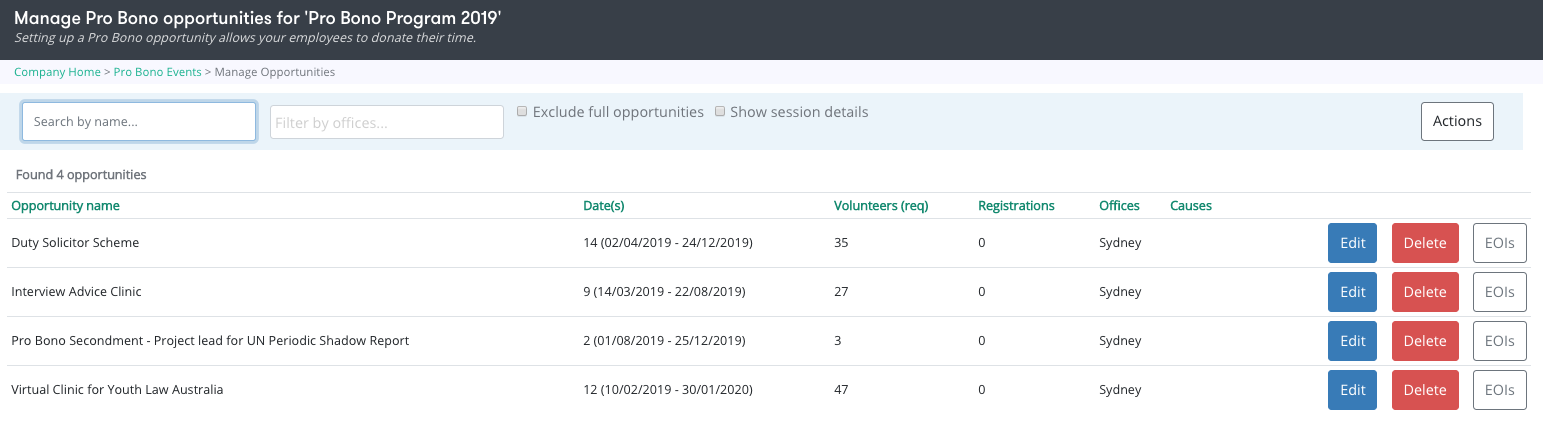
- Find your specific event that you would like to add opportunities to. Do this by either using the search bar at the top or scrolling through the list. See image below.
- Select the “Opportunities” button.
- Select “Actions” and “Add Opportunity”.
- Select the "opportunities" button
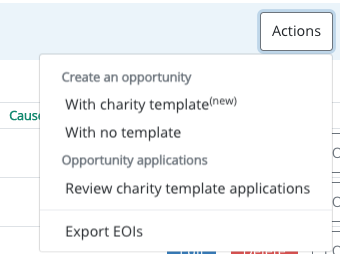
- This will redirect you to a page similar to the one below. To add another opportunity click on "Actions" at the top right hand corner.
- 2 options will become available
- Create opportunities "With a charity template"
- Create Opportunities "with no template"
- Create opportunities "With charity template"
- When you click on "With charity template" you will be redirected to the page below
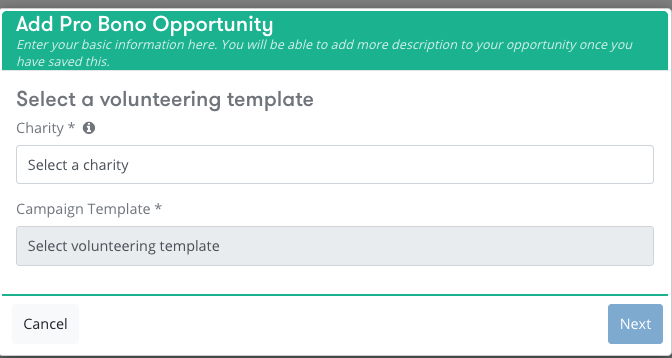
- Fill out all the required information. This will only be possible if the charity you choose has a charity template.
- Note: not all charities have "charity templates". If your charity does not have a template, follow the below instructions on "creating opportunities with no template".
2. Create opportunities "With no template"
- When you click on "with no template" you will be redirected to the following page
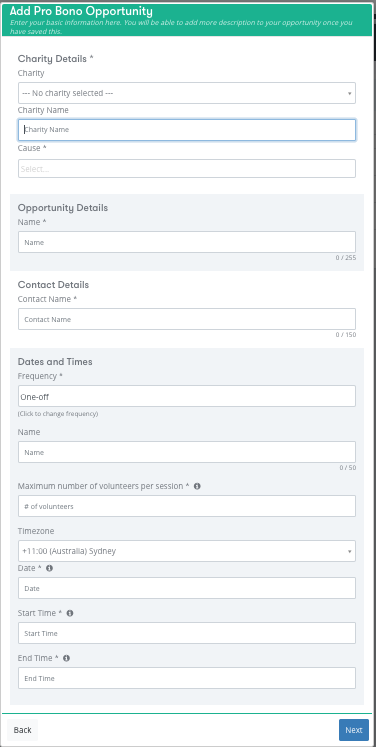
Fill in all the required information as detailed below:
Enter the Charity Name from the drop down box or another charity
- The charity available on the drop down are the ones youyour company has selected. Select a charity and the cause.
- You can type in another charity if you cannot find your charity in the suggested optionoptions. Be aware that this might affect the report on the causes, as there will be no cause attached to it.
- You want to add a charity to your platform? Email us at admin@catalyser.com
...
- Use a name that defines what you try to achieve with the opportunity. You can edit it later if required.
Enter the Contact Name
- This person will be the main point of contact for your employees. You will be able to add the email address and the phone number of that person after you have saved the details
Dates and Times
...
What is a session?
Your sessions are the timeslots to which your employees will register. The opportunity is the common theme and charity of these multiple timeslots. You can add sessions with multiple frequencies, delete them, edit the time. You coordinate these times so that it is easier for your employees to know exactly how many hours they will allocate to these Pro Bono Events.
...
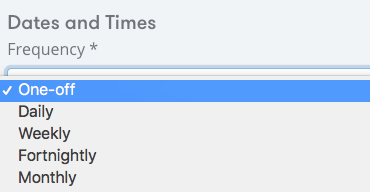
- Frequency: You can choose an opportunity to either be "one off" or a frequently occurring opportunity. If you decide the opportunity to be a frequently occurring, this can be subdivided into either, Daily, Weekly, Fortnightly or Monthly occurrences. Depending on the opportunity this will change the frequency. See image below to change the frequency of an opportunity. If you click a frequent opportunity you will have to enter the "number of occurrences" in which this opportunity is available.
| Info |
|---|
How do I create an ongoing event?You want to create a two weeks event where people can register every day? Select a “daily” frequency and the number of days that the event will be on. Then select the first day of the event, as well as it start and end time. The days generated will include Saturday’s and Sunday’s. If you only want to include weekdays, you can delete the weekends sessions after saving these details. You can also rearrange the times of the sessions later on. |
- Name: Add
...
- the name of your session
| Info |
|---|
What is a session?Your sessions are the timeslots to which your employees will register. The opportunity is the common theme and charity of these multiple timeslots. You can add sessions with multiple frequencies, delete them, edit the time. You coordinate these times so that it is easier for your employees to know exactly how many hours they will allocate to these Pro Bono Events. |
- Maximum Volunteers: Add the maximum number of volunteers that are allowed to register to one session
Date, Start and End times
- Add the first date of your sessions.
- Add its start and end timesper session
- Time zone & Date: Add the time zone of the session and the start date of your session
- Start time and Finish time: Add the starting time and the finishing time. All the sessions generated will have the same times. You can edit it this later if required.
Click "Next" to review. You will be able to add more detail once saved
- Click Save again and you will now be able to view the opportunity in detail. Here you can manage/edit the opportunity.(see below).
- Add additional opportunities to your event by repeating the above steps. This additional details can be the website linked to your Pro Bono opportunity, the address, etc.
- The following image will appear
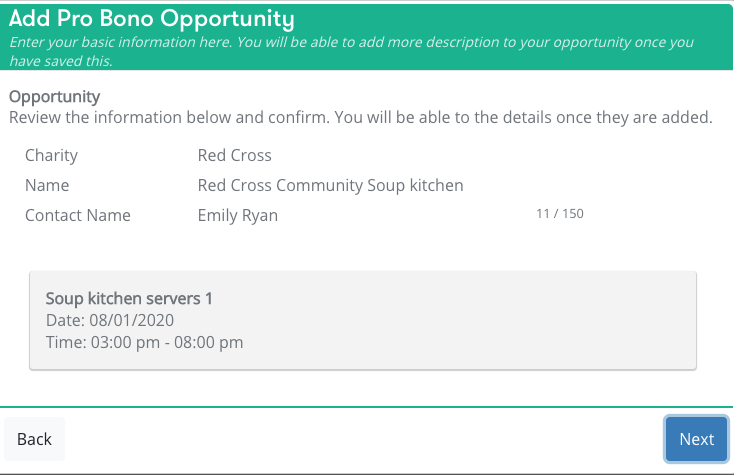
- Proceed by clicking "next" on the bottom right hand corner. Once completed the next page will shown an extensive summary of your new opportunity and what it will look like for employees wishing to register. Here you can add additional details to your opportunity if required. Follow the instructions below to add additional details to your new opportunity.
5.Additional Opportunities details
On this page, you can add a range of details to your opportunity. The page will look similar to the image below. Note this image only captures the top half of the additional details in which you can edit and add. Scroll down the page for more details.
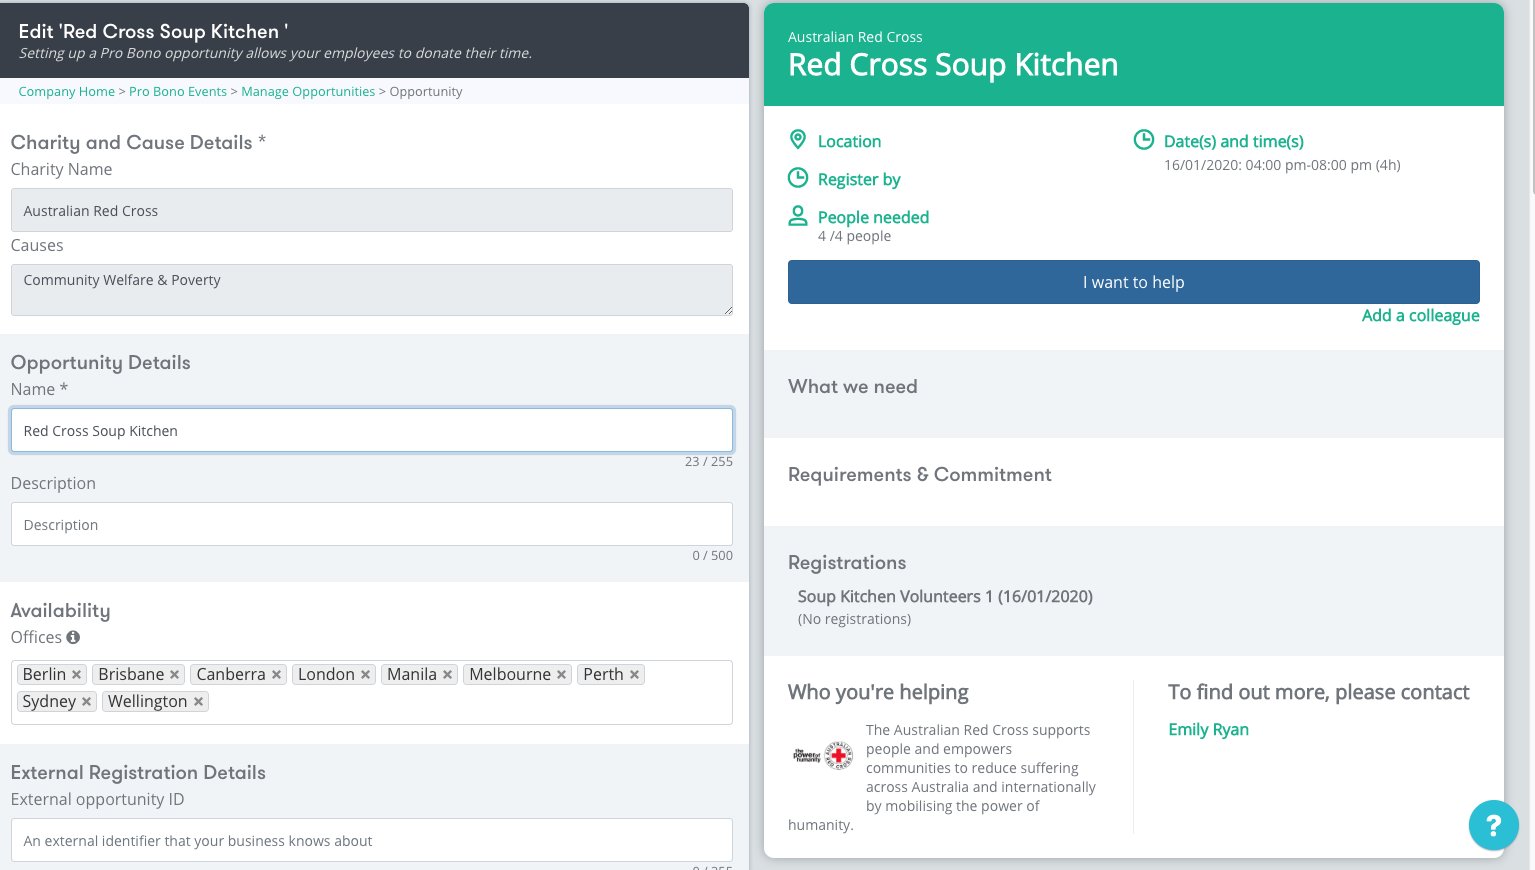
You can edit and add a range of details such as:
Editing the name and the description
- Add more information about what your opportunity is aboutaims to achieve. This will help assist in your employees understanding better what they sign up for. \further understanding the opportunity in which they have registered for
Availability
- Not all your opportunities are located near all of your offices. Use this field to select and deselect the offices to which the opportunity will be visible.
External Registration Details
- You can attach to the opportunity an ID to which your company can refer internally assign a unique number identifier to help you identify different volunteering opportunities.
- External registration URL: when adding a URL, your employees will have an extra step of registration when they want to participate to the event. That step is a redirection to the website in which you have added. This is where a Pro-Bono/Skilled Volunteering opportunity requires some additional information by an external source. This link will redirect your employee to that external link to complete any further additional information or receive any additional information.
Scheduling details
- Timezone: the default timezone of your opportunity is the one of the Pro Bono/ Skilled Volunteering event attached to it. You can still edit here if your event has multiple timezone
- Registration deadline: the default registration deadline is the one attached to the Pro Bono/ Skilled Volunteering event. If you add another registration deadline date, this will overwrite the Pro Bono event one.
...
- You have added your first sessions when you created your opportunity. You can here add more session by clicking on “Add” or delete the sessions . by clicking on "X" at the right top hand corner
- You can edit the existing sessions by clicking on it, edit and save.
Opportunity Location
- Add the address of the opportunity location. Fill in the City, Country and State in which the opportunity address is located in.
Additional Details
...
- Add any additional details related to the opportunity. This could include items that employees may need to bring on the day of the opportunity or preparations i any for the opportunity.
- Under additional details you can also add a "Pro Bono/Skilled Volunteering Appreciation Message". This is a thank you message to your employees for registering.
Contact Details
- Edit the contact details for the opportunity if needed.
- You can also add additional contact details if necessary. Click on "Add Contact" bar to fill in additional contact details.
External Requirements
- Depending on the type of Pro Bono/Skilled Volunteering there may be external requirements to be eligible for registration
- These may include "Working with Children Check" or a "Police Check". Click on the box on the left hand side of the requirement if necessary.
Additional Requirements
- Add any other additional requirements
Email Reminders
- Send a reminder email about the upcoming session. Type the email in the box
- Select how many days before the event you would like to send this email
6.Managing the promotion of Pro Bono/ Skilled Volunteering Opportunities in different offices
You have created a set of Pro Bono/Skilled Volunteering Opportunities that are available in different locations. You also want to highlight your top opportunities on the homepage of your employees.
This function allows administrators to promote Pro Bono/Skilled Volunteering opportunities on the home page. This is what your employees will be able to see on their home screen. Depending on what opportunities you wish to promote, they will appear on the Pro Bono/Skilled Volunteering tile on the home screen. See image below for reference of the Pro Bono/Skilled Volunteering home screen tile
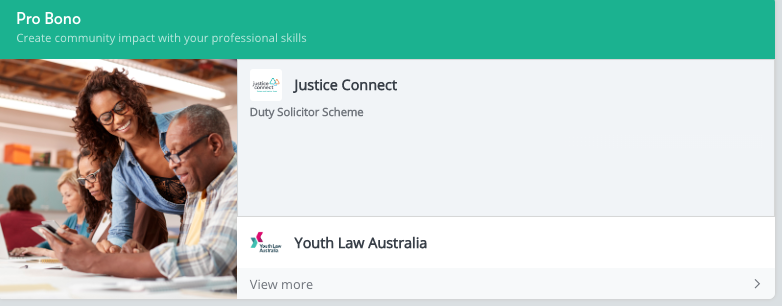
As you can see, the Pro Bono/Skilled Volunteering home tile is promoting 2 different opportunities including "Justice Connect" and "Youth Law Australia". To add or change these opportunities being promoted, follow the strps below.
- “Switch View” - select Start on the employee home page and click “Switch View” at the top of the page
- Select “Company Admin” from drop down.
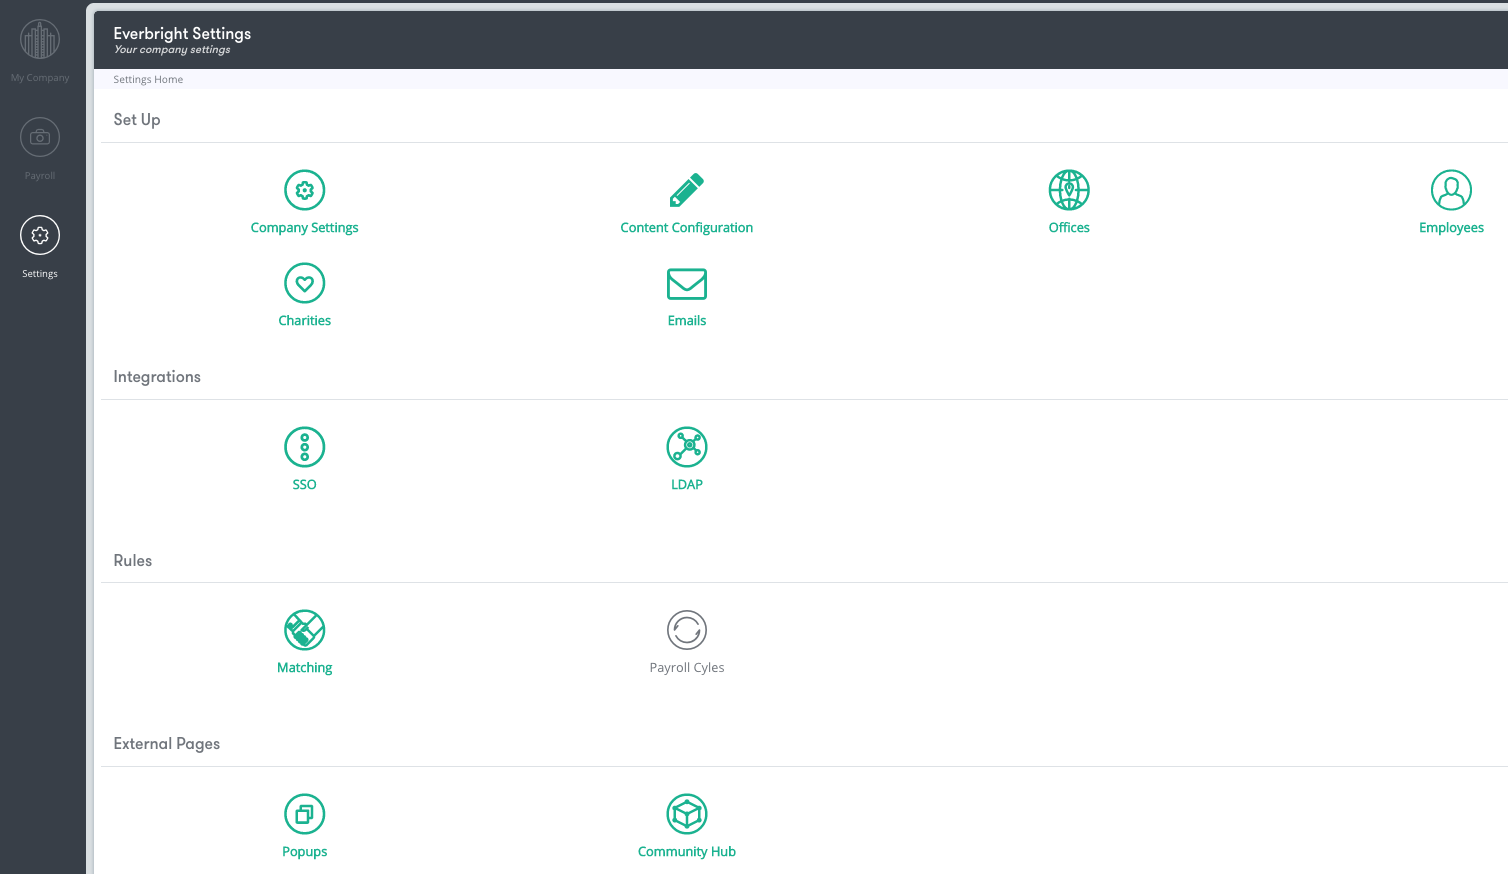
- Select “Settings” on the navigation tab on the left Click on “Offices” the left. Your "Settings" homepage may look similar to the one below
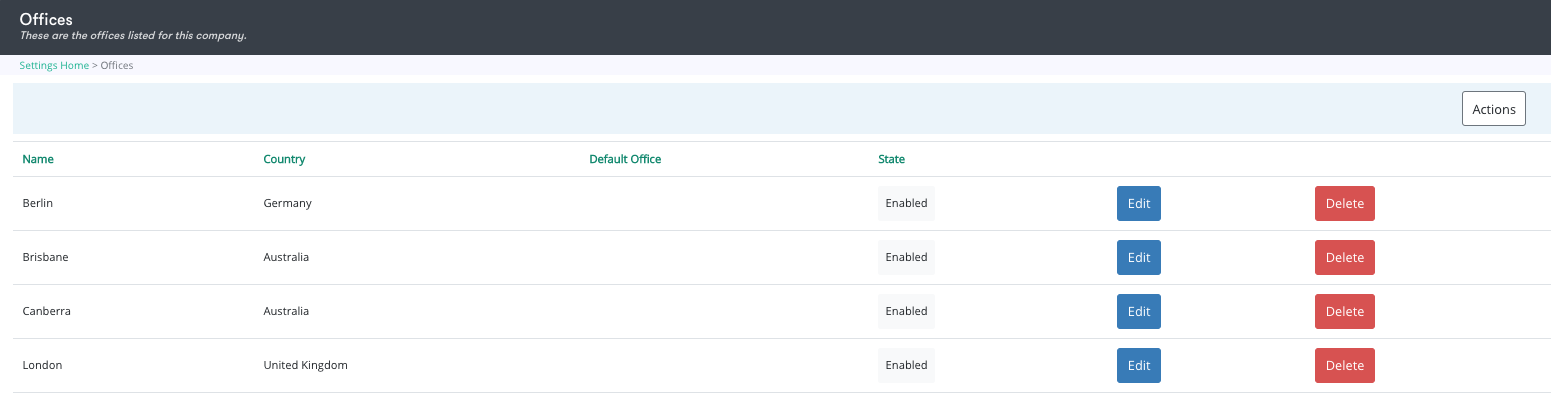
- Click on “Offices” and you will be re-directed to the page below. Note: Depending on how many offices your company has, you can individually change the promotion homepage tile to suit the type of Pro Bono/Skilled Volunteering opportunities available.
- Select the office’s homepage view you want
...
- Click on the name of the office or “Edit”
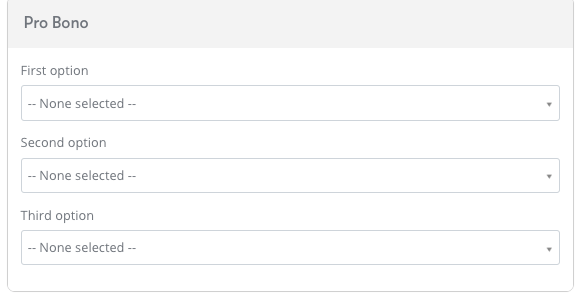
- Scroll down to Home page first/second/third Pro Bono event to manage by clicking on "Edit". You will be re-directed to a page similar to the one below
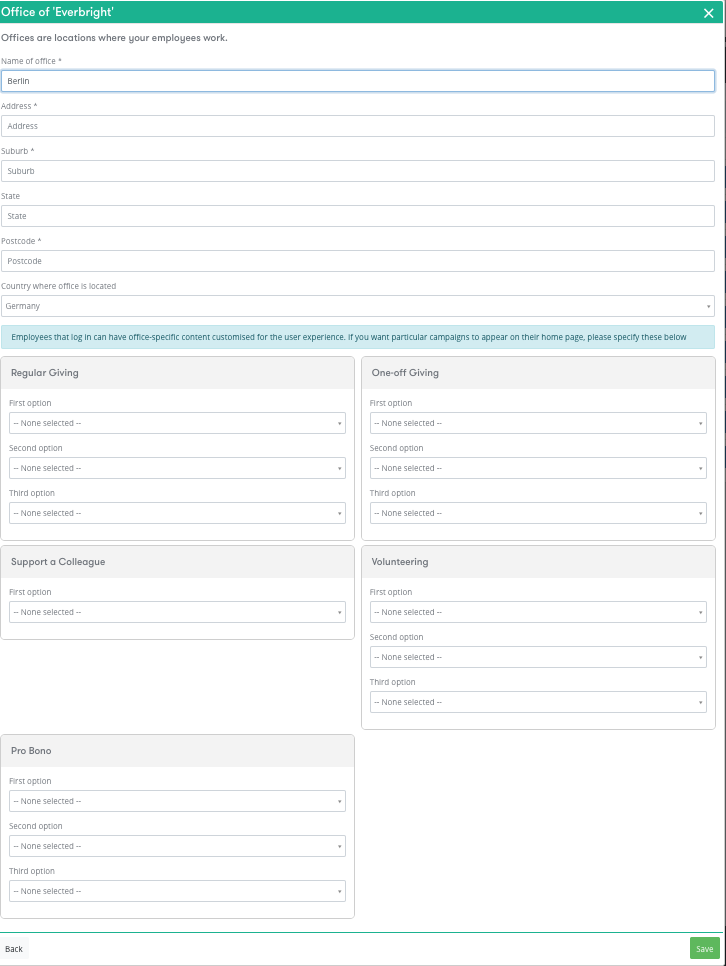
- Half way through the page, the different tiles are displayed e.g Regular giving, One-off giving ect.
- Select the "Pro Bono/Skilled Volunteering" tile
- Change the display by clicking on the drop down menus. You have 3 different options that you can promote at one time. See images below
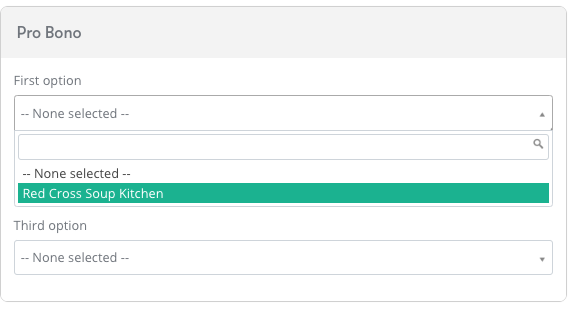
- Click "Save" to finish making changes
| Info |
|---|
You want to keep the same homepage for all your employees across the offices? If you don’t want to configure your homepage per office, you can select the opportunities that will be shown to everyone on homepage. Go to My Company > Homepage and select the campaigns that will be seen by everyone. |
...