Your causes should be To customise your program and set Causes aligned with the impact areas that your company wants to support. These causes will also help you track your progress in each of them. They will act as labels that you can add to your charities.
To create new causes or manage them follow the below instructions:
Start by switching view from "Employee" view to "Company Admin" view
- On the Employee Home Page click "Switch View" at the top of the screen
- Select "Company Admin" from the drop down menu
- You will be re-directed to the page below
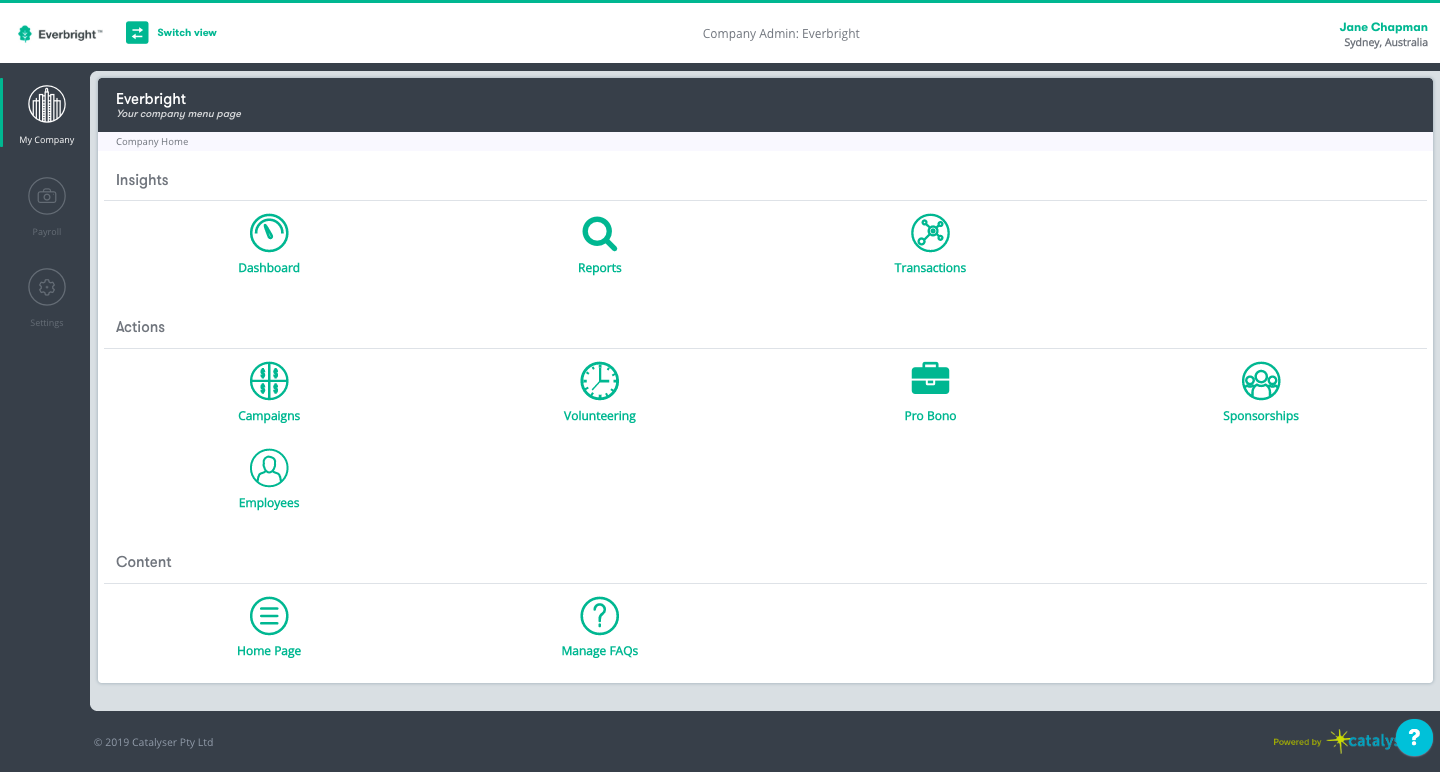
- Click on "settings" in the navigation tab
...
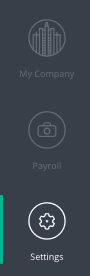
Click on Settings in the navigation bar.
You will be re-directed to the page below
...
Click on the
"charities" logo
...
Charities icon

You will be re-directed to a page similar to the one below
...
This
...
page lists the charities you
...
are
...
1.Create new causes
...
supporting. The column Causes will display the cause area associated with the charity.
Click Actions at the top right hand side of the screen
...

...
, a drop down menu will appear, click on
...
Manage Causes
...
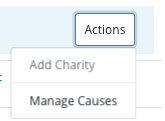
. A pop up window will appear as seen
...
...
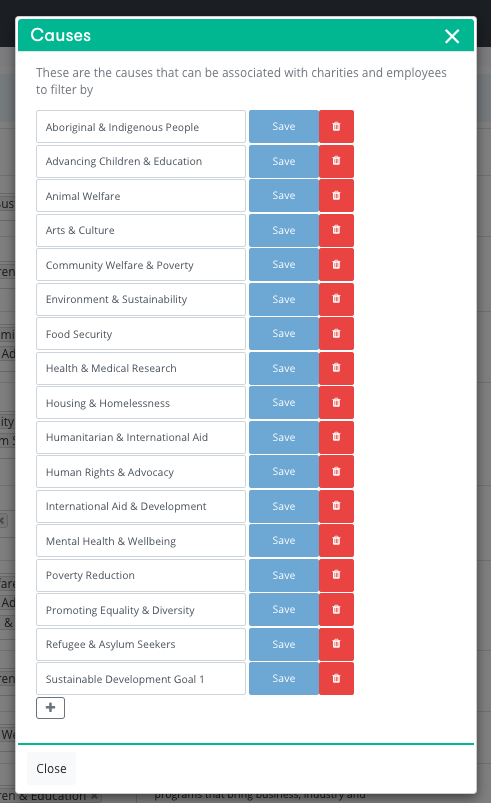
below This shows you all the causes that you have created.
...
Create new causes
To create a new cause click on
"+
"button at the bottom of the pop up window.
This will produce a new tab as seen below
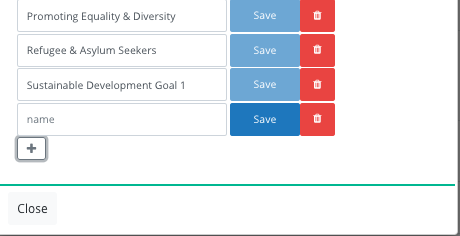
A new line will appear below the last cause.
Type in the name of the new cause you would like to create
Click
on “Save”Save
Click
"Close
"when finished
2.Managing causes
Deleting causes:
...
Deleting causes
Click on the red
"trash can
"button
Click
"Close
"when finished
Editing causes
- To edit the name of causes simply delete and create a new cause as seen in the instructions above
- Click "Close"
Simply click in the Cause field that requires editing and type
Click Save
Click Close when finished
Version 20/1/20 |
|---|